2024 GARDENING / HOME IMPROVEMENTS
This year I added a raised garden after tax season. On and off for a little gathering all the parts, then two days of concentrated effort, but the home for Tomatoes, Yellow Squash, and Zucchini is complete! (Just like the A-to-Z challenge.)
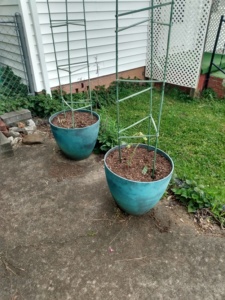 First thing I did was get my containers in order. I bought mint and tomatoes in early April then never had a chance to plant them. Eventually I cleared out the growth from 2022 and 2023 when I ignored the pots, but by then the mint and tomatoes were mostly dead.
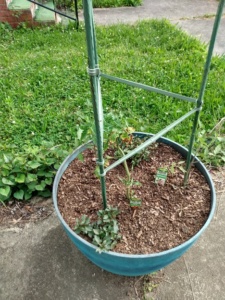
I went out and bought more mint and tomatoes, plus supplies for the raised garden. Now the deadline kicks in. I need to get the new plants in a container soon.
I got the raised garden back in January when I was flush with day-job money and hope that THIS is the year I will find time during tax season to get my gardening done before the heat of May kick in for the south.
Yes, I do this dance every year, and every year I fail, but this year I was determined. (shush you, yes, the mint died – which takes some very determined neglect, but this year will be different!)
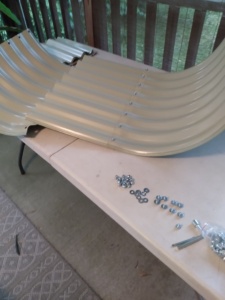
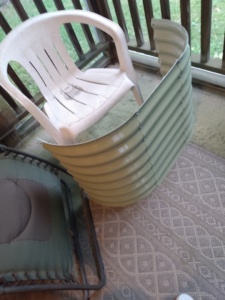
I had the raised garden pieces. Eight screw-nut combinations are needed to attach each panel together and the end result would be a two-foot deep bed. One hundred and twelve screw-nut combinations later, I got it assembled.

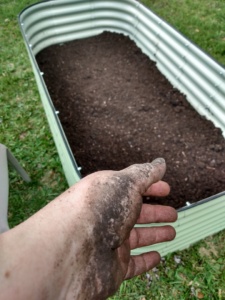
Now that the form is ready. I need to go get the dirt. Being just me and my mini-van (their name is Grey), I will need to buy bags of soil.

Now to get the final touch, those plants that I bought last week. Did I get all of this done in time? 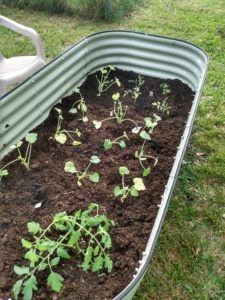
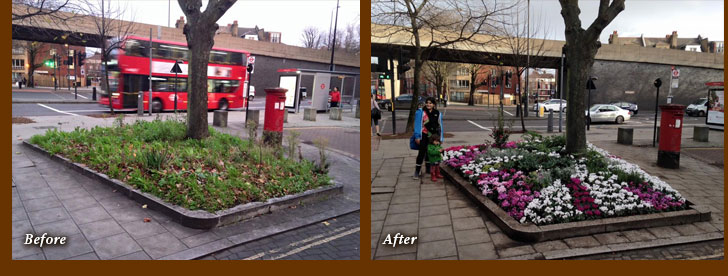
Everything is planted. It looks pretty. Hopefully it will taste delicious in a few month. The wonderful things about making the raised bed is it should be easier going forward to get everything done in future years. We shall see.
I got this done by the May Heat Deadline – go me! (And thanks to everyone on A-to-Z for their visits. Have a great year.)