Still working on the coif. I added some embroidery thread – blue and brown.


Still working on the coif. I added some embroidery thread – blue and brown.
Finally broke out my needles in the first time in forever during October.
Want to see my pretties in process? I took some pictures on where I am on October 8, 2019. Hopefully I will finish a few of these.
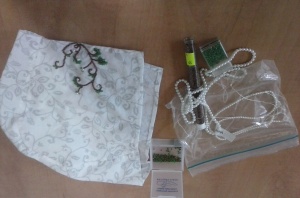
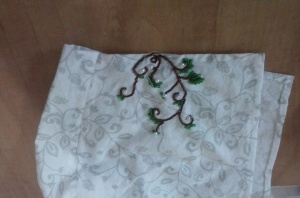
First, I took a Beadwork Coif class at the beginning of the month. I had to make the coif before the class, now I am slowly beading the project.
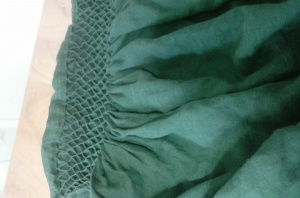
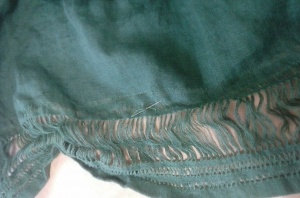
Next, you might remember my ongoing apron projects. I’ve been working on this green one on and off for most of a year. Mostly off. But I pulled the pleating strings out of the smocked area this month and finished pulling out the threads to do the drawn work along the bottom. Now I just need to finish gathering the ladders for the drawn thread decorations. Of the things I am working on, this is the most likely to be completed this year.
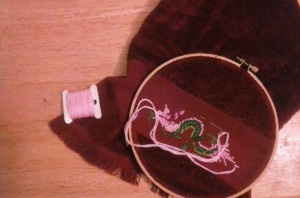
I started the dragon towels last year during tax season (2019). Did another big push in July, and haven’t added a stitch since. It should be a set of four towels when complete. Biggest challenge with this one is following a pattern carefully, one of the reasons I dislike cross-stitch so much. If it wasn’t so pretty when it was done, I would give it up.
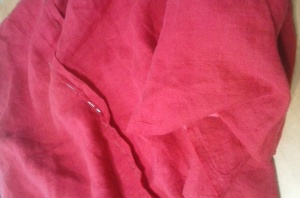
Then the BIG project. A complete set of mix-and-match Flemish garb with “heavy metal” embroidery. It will be six garments all told – two undergowns, two overgowns, and two aprons. I have completed one undergown (summer 2018) and one overgown (October 2019), the sewing portion. Working on the second undergown and overgown (the red apron gown is below). Then sew the two aprons. Then embroidering ALL THE THINGS!!! Well, four things: the two overgowns and the aprons. It will be AMAZING when done. … If it gets done.
That is always the challenge. Getting it done. So many pretties, sew little time.
(Created by Erin Penn)
Equipment
| Sink | Stove | Non-reactive pot (ceramic, glass, etc) |
| Pruning shears | Big Bowl | Stirring spoon |
| Funnel | Strainer | Container (non-reactive or plastic you don’t care will be rosy for the rest of its life) |
Ingredients
Roses (home grown if possible) – 2 bowls worth
Water
Process
ADDITIONAL COOKING NOTES:
Comments
Pictures
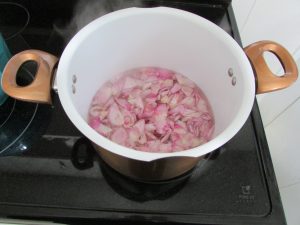
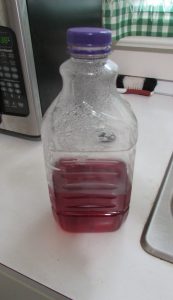
 Roses grown in my yard. I’ve been working on them for two years now.
I’ve cut off two big bowl for the rosewater and still have tons left.

.
.
.

.
.
.
.
.
.
 RECIPE: LIBUM (An Offering)
Roman Recipe – Cato (180 BC), recipe 75
Libum hoc modo facito, Casei P. Il bene disterat in mortario. Ubi bene destriverit, farina siligneae liram, aut, si voles tenerius esse, semlibram semilaginis eodem indito, permiscetoque cum caseo bene. Ovum unum addito et una permisceto bene. Inde panem facito, folia laurea subdito: in foco caldo sub testu coquito leniter.
Translation – Giacosa p. 169
Make a libum thus: Thoroughly grind 2 librae of cheese in a mortor. When it is well ground, add 1 libra of fine flour or, if you want [the loaf to be] softer still, ½ libra of finest flour; mix well with the cheese. Add 1 egg and mix well. Then form a loaf, placing bay leaves beneath. Cook slowly under a testo on a hot hearth.
Cookbook Interpretation can be found on Giacosa pp. 169-170
My Interpretation: For 16 people at a Feast
Equipment
| Oven | Mixing Bowl | Mixing fork |
| Baking Sheet | Measuring cup (dry) |
Ingredients
| 2 cups of Ricotta (15 ounces, since that is an easy purchase) | 2 cups of Flour | 2-3 bay leaves (fresh or dry, dry worked fine for me) |
| 1 Egg |
Process
Comments
Bibliography
Giacosa, Ilaria Gozzini, Translated by Anna Herklotz. A Taste of Ancient Rome. The University of Chicago Press: Chicago and London. 1992.
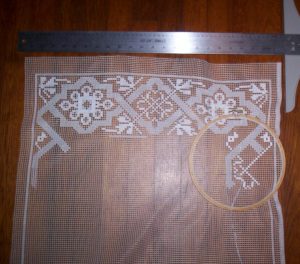
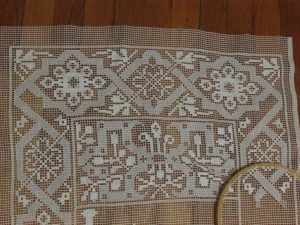
Originally conceived in 2004, I complied the design from patterns found in Renaissance Patterns for Lace, Embroidery and Needlepoint: An unabridged facsimile of the “Singuliers et nouvezu’=pourtraicts” of 1587 by Federico Vinciolo and Patterns Embroidery: Early 16th Century by Claude Nourry & Pierre de Saincte Louie. The project comes as two wall hangings; one will be a Lady’s Room door hanging showing Spring and Summer and the other will be a Lord’s Room door hanging featuring Fall and Winter. Pages from the book where I transcribe the patterns include FV89 (Spring), FV90 (Summer), and CNPSL61-63 (letters).
 The full pattern for the Lady’s Room is 127×378 squares. The pattern has 8 major segments including the top and bottom borders, plus the right and left borders which are being completed as I work my way down the design. I actually started the first wall hanging in May 2011 and completed the top border in September 2011.
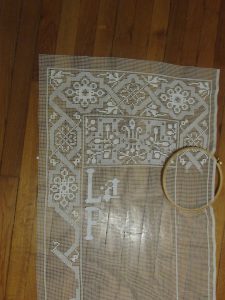 The project then was set aside as I worked on other things, like writing, moving, job hunting, etc. In March 2017, I have decided to make a concerted effort again on the project and put a week of 2 to 3 hour nights into it after doing taxes. So after 20 more hours, I got a second border section done. At this rate, it I don’t get distracted again, I should have this completed in mid-June and can start work on the Lord’s Room door hanging. (I got distracted – so it has stalled out again.)
Materials being used: Store bought mesh (unknown material) and Cotton Crochet thread size 10 (due to cost – I am going through a lot of thread).
Tools used: Large tapestry needles, scissors, and a 12-inch embroidery hoop.
SEPTEMBER 2011 PICTURES

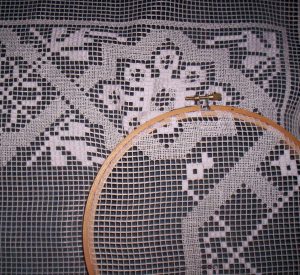
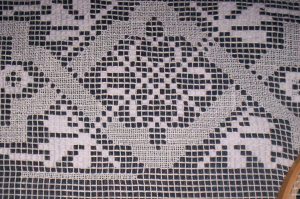
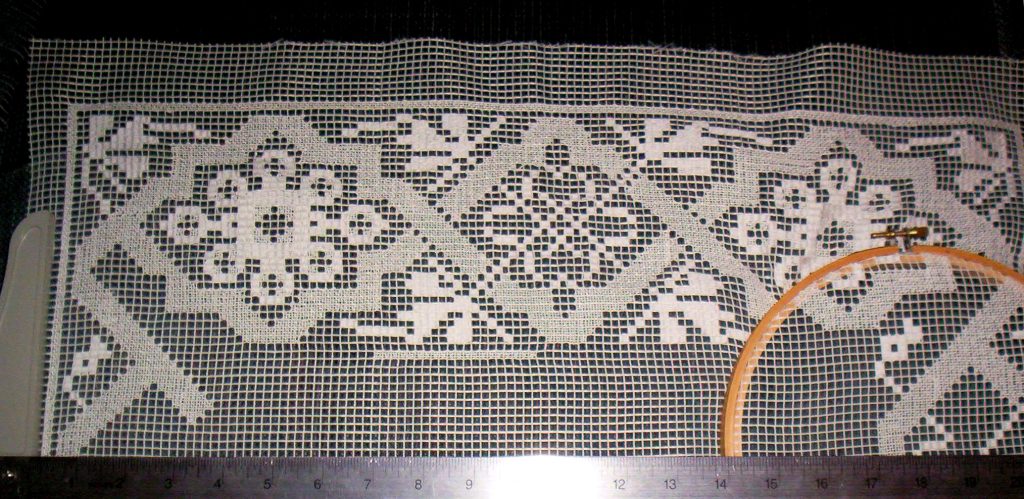
First Border Completed (Sept 2011)
MARCH 2017 PICTURES